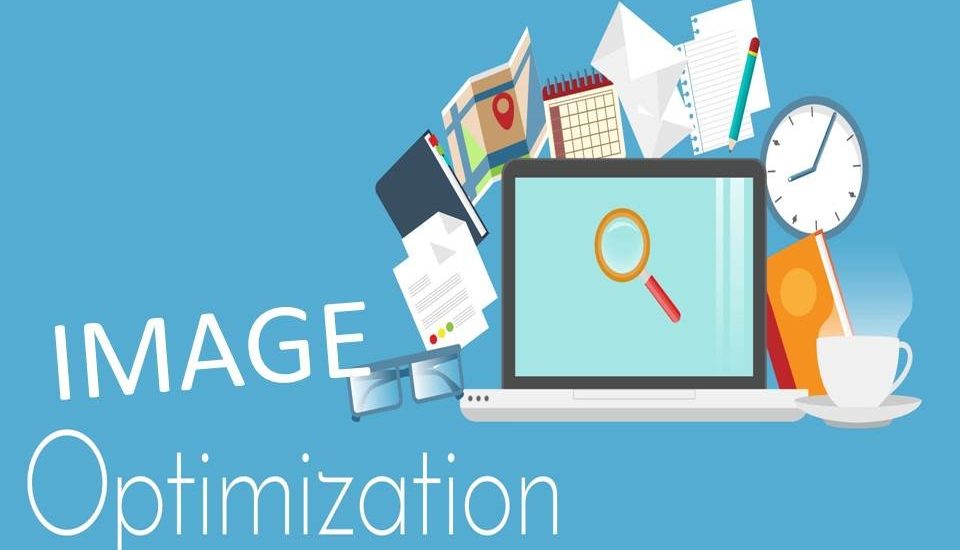
There are some tricks and techniques that let you reduce the image’s file size and still keep them pretty enough to proudly display them on your website. So let’s take a look at how to format your images without making them ugly, as well as how to optimize images for web and performance.
Choose the Right Images
Use high-quality images. If possible unique and original images.
I know that’s not always possible, but try to use them as a story amplifiers not just something you put on your page.
If you need an idea to find some great images, check out our collection of websites with free images.
Some of these sites are set up by photographers that share some amazing original images.
Another option is to create your own.
By that, I don’t only mean by photographing them but creating your visuals.
This can be done by a designer or if you want to do it yourself, you can with some tools.
They can be infographics, data representation.
I mean when you are showing something or explaining you can even use screenshots.
Have a purpose behind your images and graphics.
Don’t force it. Let them compliment your content
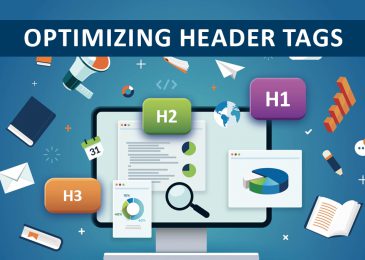
Chose the Right Image File Type For Your Needs
There are different image formats that you can use.
All of them serve a different purpose.
The most common image formats are:
JPEG
PNG
GIF
WEBP (new)
JPEG Image format
This is the most common format used, as it’s suitable for photographs and it offers the second best ratio between file size and quality when optimized.
It works great with colors, plus its commonly supported.
The downside of it is that it doesn’t support transparency like GIF’s or PNG’s.
PNG format
It supports transparency and can store layers.
The most common use is for logos, as the image is small maintains its quality.
This format is not the best solution for colorful photograph images as the file size will be enormous an affect the page loading speed.
GIF format
This format is also more suitable for small sized images.
It only has 256 colors, similar to PNG-8.
The advantage of GIF format is that it can be and is used for short animations.
As PNGs, it can also be used for logos.
It also supports transparency the same as PNGs.
The industry leaders are not recommending it for photographs or images, as it can be quite a load on the website and by that on the loading speed.
WEBP Format
This is a new format introduced by Google in 2010.
The format had a slow start because not a lot of browser support was there.
But as the time has passed the support grew and now it’s starting to be a serious contender.
Especially if you consider that it can replace both the PNGs and JPEGs, plus it can reduce the size by 30 % with the same quality of an image.
That’s huge and speed is an important aspect of SEO and image SEO.
But it is worth noting, that some versions of browsers don’t support it, so you will have to make sure your website is serving JPEG and PNG format to those.
Resize the file
There is really no one size fits all blogs for this scenario. The question is what size image do you NEED on your blog or can your blog use. Using a Chrome plugin called Page Ruler, I know that the max width of any photo I use in a blog post should be 655px because that is the max width of my text (because I have a sidebar).
A standard photo taken on my iPhone is 4032px x 3024px and 2.63MB (2630 KB). So, way too large both size and filesize wise for my blog.
Using a program called Pixelmator, I resized the photo to 655px x 873px and the filesize became 339KB when I saved it. You could also use something like Lightroom, Photoshop, Canva, or PicMonkey.
The absolute worst thing you can do is upload photos directly from your DSLR or iPhone/smartphone without resizing/optimizing them.
There are TONS of different photo softwares out there. Find what works best for you.
Remember that one of the reasons we are optimizing our images is to improve site speed. Want to test your site speed? This is the site I use (provided by Google):
Create Descriptive Alt Text and Image Descriptions
Alt text is the text that is shown on screen when the browser has problems loading your image.
This usually happens on slower connections.
It’s also the text that is shown to users that are using screen readers.
Alt text improves your websites accessibility and user experience.
Besides what says above, writing appropriate alt text is also a good part of an on-page SEO.
So make sure you include words associated with the image.
It also provides valuable information to Google, so it knows what to show in an image search for a certain query.
Example:
<img src=”bubblegum-2.jpg” alt=”bubblegum”>
It would be even better to make it like this:
<img src=”bubblegum-2.jpg” alt=”Pink cherry flavored bubblegum”>
In some countries, there is a law that demands the usage of alt text for people with disabilities who can’t view the image.
Compression Quality vs Size
Here is an example of what can happen you compress an image too much. The first is using a very low compression rate, which results in the highest quality (but larger file size). The second is using a very high compression rate, which results in a very low-quality image (but smaller file size). Note: The original image untouched is 2.06 MB.
Lossy vs Lossless Optimization
It is also important to understand that there are two types of compression you can use, lossy and lossless.
Lossy – this is a filter that eliminates some of the data. This will degrade the image, so you’ll have to be careful of how much to reduce the image. The file size can be reduced by a large amount. You can use tools such as Adobe Photoshop, Affinity Photo, or other image editors to adjust the quality settings of an image. The example we used above is using lossy compression.
Lossless – this is a filter that compresses the data. This doesn’t reduce the quality but it will require the images to be uncompressed before they can be rendered. You can perform a lossless compression on your desktop using tools such as Photoshop, FileOptimizer, or ImageOptim.
It’s best to experiment with your compression techniques to see what works best for each image or format. If your tools have the option make sure you save the image for web. This is an option in many image editors and will give you the quality adjustments so you can perform optimal compression. You’ll lose some of the quality, so experiment to find the best balance you can without making the images ugly.
Read more How to optimize video for SEO
_______________________________________________________________________________
For more details about our seo service packages, pls contact us
BIGBIGSEO Team
Email: bigbigseo@gmail.com
Skype: bigbigseo
https://www.facebook.com/bigbigseo
Thank you!